Ever stand in your garden and think, “Why does it still look like chaos?” I get it. Even a beautiful garden can look messy if it’s not defined. Here’s the thing: most people ignore the power of proper garden edges.
But trust me, it all changes when you use yard corners effectively.
I’ve spent years digging in the dirt, learning from my wins and my glaring mistakes. This isn’t just about slapping down some stones and calling it a day. We’re talking about transforming chaos into a cohesive masterpiece.
You’ll learn how to creatively install and use these edges to raise your outdoor space. It’s about making smart, practical design choices. Stick with me, and your yard will thank you.
This guide will show you how to bring order and beauty to your garden.
The Quiet Power of Garden Edging
Garden edging is like the quiet kid in class who turns out to be a genius. You think it’s just about keeping grass out of flower beds? Think again.
Edging is all about visual containment. It gives your eyes a break, a place to rest. Ever notice how a yard with clean lines feels more intentional?
That’s no accident. It’s like framing a picture but for your lawn.
Let’s get real about functionality. Edging isn’t just there for looks. It saves time.
Less weeding, less mulch spill, less mess. And let’s be honest, who wants to spend their time constantly fixing up their yard? Not me.
Edging holds everything together, like the unsung hero that it is. Sure, it might cost a bit upfront, but it pays off. You save money (and sanity) in the long run.
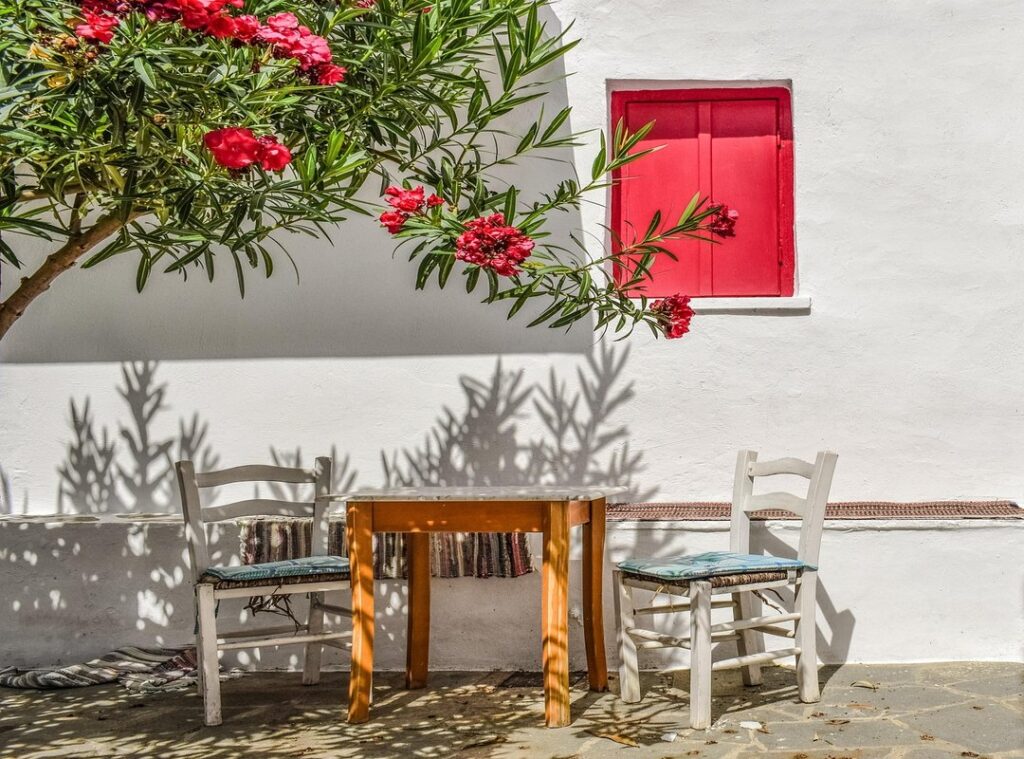
And aesthetics? Oh, edging is the secret sauce. It’s the difference between a yard that screams chaos and one that whispers elegance.
Walkways, flower beds, even those awkward yard corners become defined, sharp, professional. Ever walked through a garden and just felt peace? That’s the ambiance at work.
A crisp metal edge gives modern vibes, while stone edges scream natural, rustic charm.
If you’re looking for diy solutions clutter free yards, check out this guide. Trust me, your yard will thank you.
Material Matchup: Edging for Your Yard’s Vibe
Choosing the right edging isn’t just about keeping your mulch in line. It’s about setting the whole tone of your yard. Metal edging, like steel or aluminum, screams modern. It’s sleek, minimalist and can make those sharp curves you see in designer mags.
Durable too. But does your space want that sharp edge?
Now, if you’re chasing timeless charm, look to natural stone or brick. They add texture, a sense of permanence. They’re classic.
But don’t kid yourself: this option is labor-intensive. You’ll be lugging stone blocks around. The payoff?
A high-end, custom look. It’s like investing in a pair of handcrafted leather boots. They take work but last ages.
Then there’s wood. Treated pine or cedar gives off a warm, versatile vibe. Perfect for those wanting a more rustic feel (think railway ties).
Or maybe something neat, like boards. But wood is not as long-lasting. It’s like a paperback when you need a hardcover.
It ages, it weathers, it rots. Still, nature lovers might not mind.
Finally, plastic or composite edging is your budget-friendly, practical choice. It’s flexible and easy to install. But let’s be real: it can look a bit cheap and get brittle over time.
Perfect for simple projects where cost and ease matter more than aesthetics.
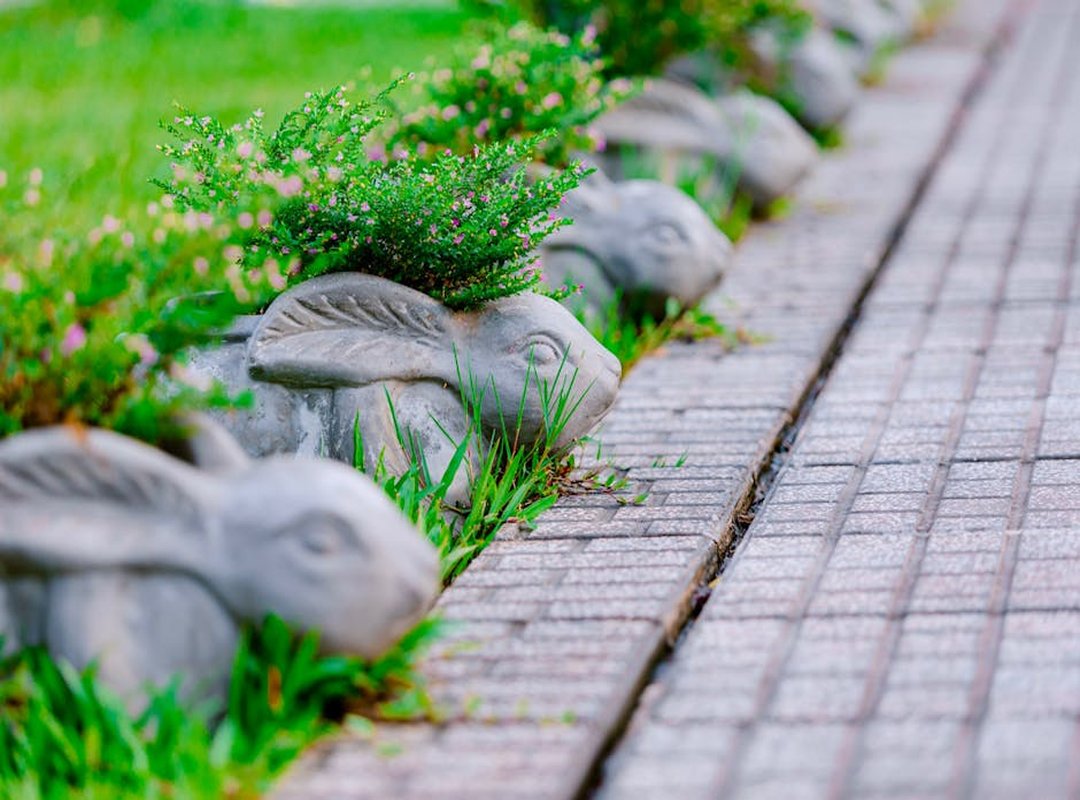
What about those yard corners you never use? A nifty plastic edge can transform them. The trick is matching your material to the vibe you want to create.
What feels right for your space?
The No-Nonsense Guide to Installation
So, you’ve decided to put in a trench. Kudos to you. Here’s a straightforward method to get it done effectively.
Let’s dive right in.
Step 1: Plan & Mark. You can’t underestimate the importance of laying out your design in advance. Grab a hose or some spray paint. Seriously. Measure twice, dig once. Have you ever tried to dig in a straight line without guiding marks? It’s like herding cats.
Step 2: Dig the Trench. Grab a flat-edged spade, it’s your best friend here. Make sure to dig to about half the height of your chosen edging material. If it’s not deep enough, you’re setting yourself up for future problems. I mean, who wants to redo this?
Step 3: Set the Edging. Here’s where things get precise. Make sure your edging is level and straight, because a wavy edge just doesn’t cut it. Use a rubber mallet (trust me) to gently tap the edges into place. A regular hammer might cause damage, and no one needs that drama.
Step 4: Backfill & Tamp. You’ve got your edging in, now fill the soil back in. Get it firmly in place. Backfilling is about securing the edging and helping it withstand time (and weather). A solid backfill is your best bet for that.
One last tip: use yard corners to your advantage. They’re ideal for planning your layout. Want more space-saving tips?
Check out this vertical gardening space saver guide. It’s packed with ideas that will make even the smallest yard feel grand.
There you have it. Trench installation made simple. Get out there and make your yard look sharp.
Creative Edging: Raise Your Garden
Let’s talk garden edges. They’re not just for keeping mulch in line. If you’re not using them to create ‘islands’ or ‘peninsulas’, you’re missing out.
Imagine a highlight tree or sculpture smack in the middle of your lawn. Edging can frame it beautifully. It’s like putting your beloved plant on a stage. (Why should trees hide in the corner?)
Gravel paths are another story. They’re a breeze to make. Two parallel lines of edging and you’ve got yourself a neat little walkway.
No more trampling over your plants or grass. Want a garden that looks like it’s from a magazine? Start with the path.
And then there’s the dry creek bed. I’ve seen yards transformed with just stone or paver edging. Fill it with river rocks for a touch of the wild (minus the maintenance).
It’s all about defining space and adding texture.
Now, if you’ve got a flat yard. Boring, right? (consider) elevating a bed. Use taller edging materials, like stacked stone or thick wood.
It’ll give you that faux raised bed look without the hassle of actual construction. More dimension, less work.
Finally, let’s not forget to use yard corners. These often-neglected spaces can be creative hotspots with the right edging. Use corners for a surprise seating or a hidden nook.
They turn from dead zones to delightful spots.
So, are you ready to rethink your garden edges? They could change everything.
Common Edging Mistakes: And How to Sidestep Them
I’ve been there, trust me. First mistake? Not burying it deep enough.
Shallow edging gets shoved around by frost or mangled by mowers. Next, curves. Don’t try to force rigid materials into tight curves.
It’s like bending a steel rod (not happening). And don’t forget about drainage! Solid, non-porous edging might trap water if you don’t plan.
You wouldn’t want a swampy mess in your yard corners, right? Use yard corners to guide water away. It’s not rocket science, but getting edging right can save a lot of headaches. Proper planning makes all the difference in a neat yard.
Transform Your Yard, One Corner at a Time
Your yard feels chaotic. It’s a mess of undefined spaces. But here’s the fix: garden edging.
It’s simple and instantly changes the vibe. Use yard corners to define spaces. Grab a spade, pick your style, and start creating the clean, beautiful yard you deserve. You’re ready, aren’t you?
 Ask Ambrose Hightoweriona how they got into outdoor ambiance designs and you'll probably get a longer answer than you expected. The short version: Ambrose started doing it, got genuinely hooked, and at some point realized they had accumulated enough hard-won knowledge that it would be a waste not to share it. So they started writing.
What makes Ambrose worth reading is that they skips the obvious stuff. Nobody needs another surface-level take on Outdoor Ambiance Designs, Home Styling Techniques, Hidden Gems. What readers actually want is the nuance — the part that only becomes clear after you've made a few mistakes and figured out why. That's the territory Ambrose operates in. The writing is direct, occasionally blunt, and always built around what's actually true rather than what sounds good in an article. They has little patience for filler, which means they's pieces tend to be denser with real information than the average post on the same subject.
Ambrose doesn't write to impress anyone. They writes because they has things to say that they genuinely thinks people should hear. That motivation — basic as it sounds — produces something noticeably different from content written for clicks or word count. Readers pick up on it. The comments on Ambrose's work tend to reflect that.
Ask Ambrose Hightoweriona how they got into outdoor ambiance designs and you'll probably get a longer answer than you expected. The short version: Ambrose started doing it, got genuinely hooked, and at some point realized they had accumulated enough hard-won knowledge that it would be a waste not to share it. So they started writing.
What makes Ambrose worth reading is that they skips the obvious stuff. Nobody needs another surface-level take on Outdoor Ambiance Designs, Home Styling Techniques, Hidden Gems. What readers actually want is the nuance — the part that only becomes clear after you've made a few mistakes and figured out why. That's the territory Ambrose operates in. The writing is direct, occasionally blunt, and always built around what's actually true rather than what sounds good in an article. They has little patience for filler, which means they's pieces tend to be denser with real information than the average post on the same subject.
Ambrose doesn't write to impress anyone. They writes because they has things to say that they genuinely thinks people should hear. That motivation — basic as it sounds — produces something noticeably different from content written for clicks or word count. Readers pick up on it. The comments on Ambrose's work tend to reflect that.